How to Safely Remove Custom Themes and Icon Packs in Windows | Step-by-Step Guide
How to Safely Remove Custom Themes and Icon Packs in Windows | Step-by-Step Guide:Removing a custom theme in Windows is a simple process that restores your system’s original look and improves stability if the custom theme causes issues.

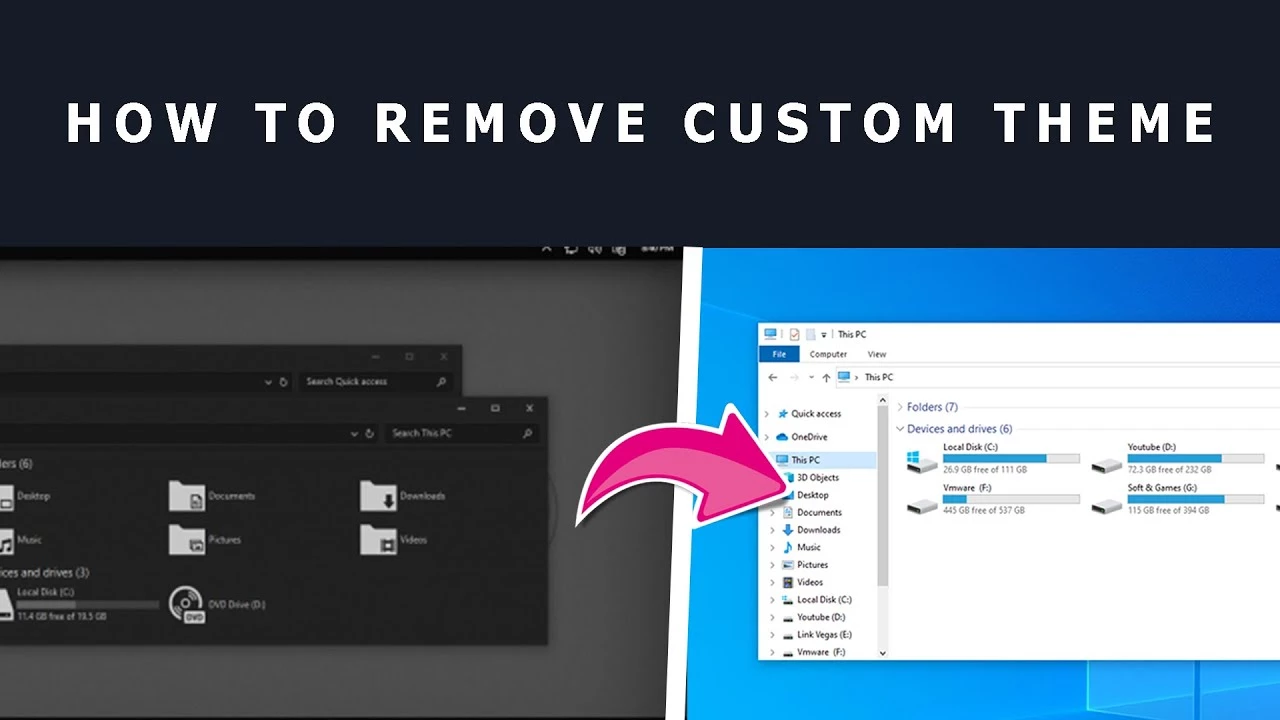
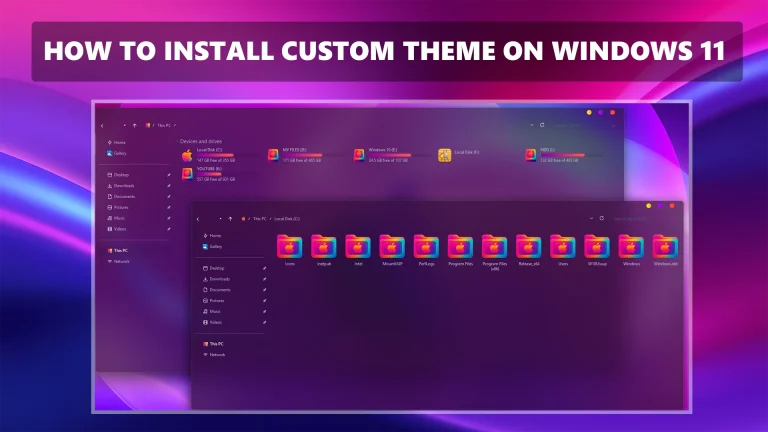
Remove a Custom Theme in Windows 11
✅ Step 1: Switch to a Default Theme
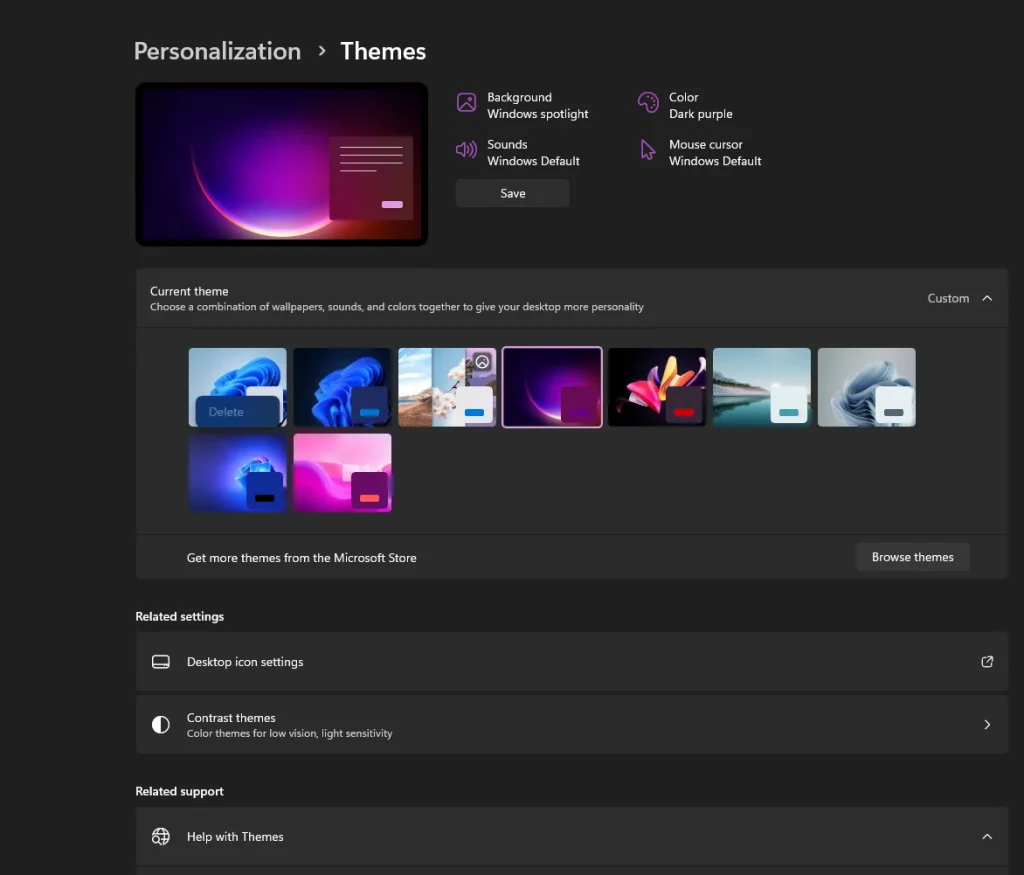
Right-click on the desktop and select Personalize.
Click on Themes from the left panel.
Under Current Theme, scroll down and choose a default theme like:
Windows (Light)
Windows (Dark)
Glow
Or any built-in theme.
🗑️ Step 2: Delete the Custom Theme
Under “Change theme”, right-click the custom theme you want to remove.
Select Delete.

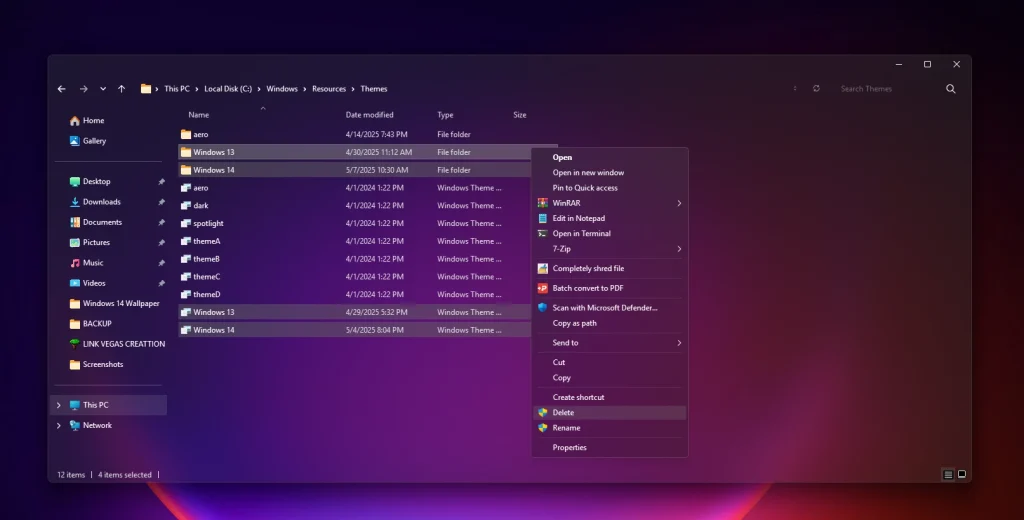
Clean Up Theme Files Manually (Advanced)
If the theme left behind files or you downloaded a theme pack:
Press Win + R, type:
%LocalAppData%\Microsoft\Windows\Themes
Press Enter. Delete any unwanted .theme files or folders.

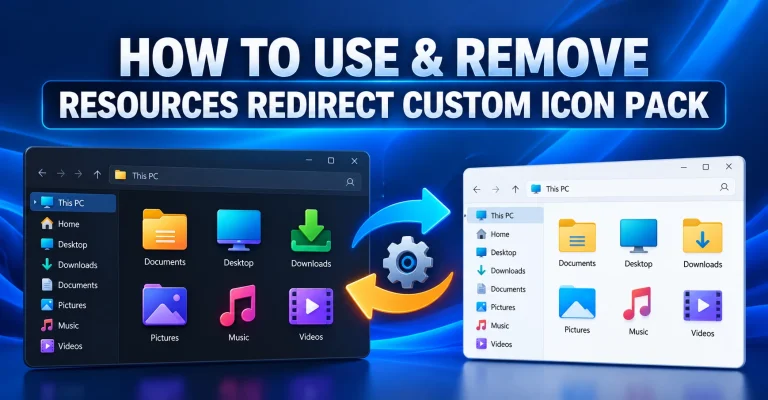
How to Remove 7TSP Icon Pack
Method 1: Uninstall Using 7TSP (Recommended)
This only works if you still have the original
.7tspicon pack you used.
Step-by-Step:
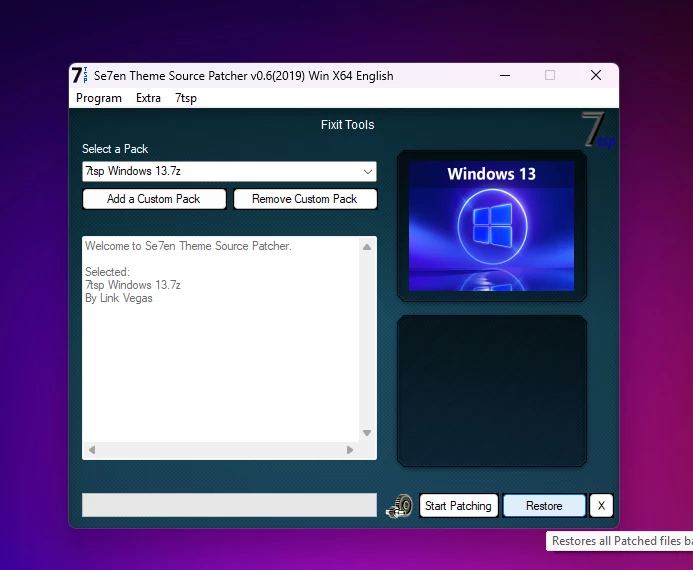
Open 7TSP GUI (usually named something like
7tsp_GUI_v0.6(2019).exe).Click “Add a Custom Pack” and load the same
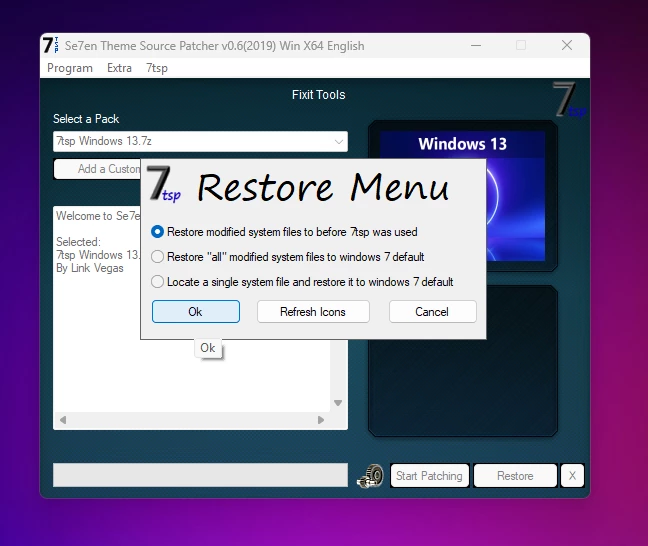
.7tspfile you used earlier.Once loaded, click “Restore” or “Restore Backup” (button name may vary).
Wait for it to finish restoring your original system icons.
Reboot your PC when prompted.


1. Uninstall StartAllBack
Press Win + I to open Settings.
Go to Apps > Installed apps.
Scroll to StartAllBack, click the 3-dot menu next to it.
Click Uninstall, then confirm again.
Follow the on-screen uninstaller to complete the process.
Reboot your PC.
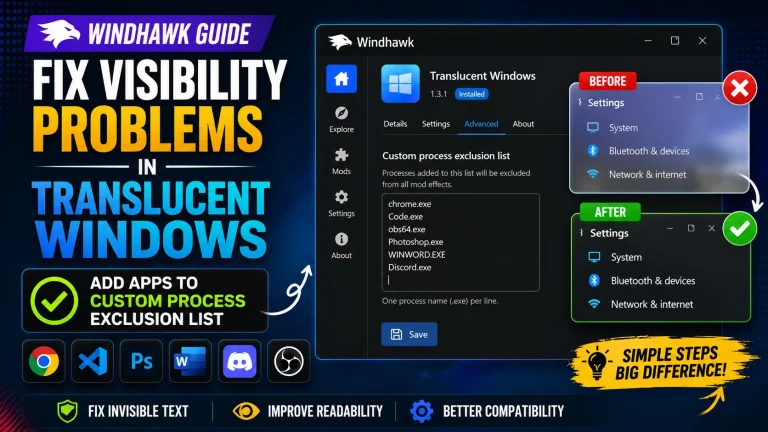
Uninstall Windhawk
Press Win + I to open Settings.
Go to Apps > Installed apps.
Scroll or search for the Windhawk.
Click the three-dot menu ? next to it.
Select Uninstall and confirm.
Post Views: 807
Share your love